Create a signing order
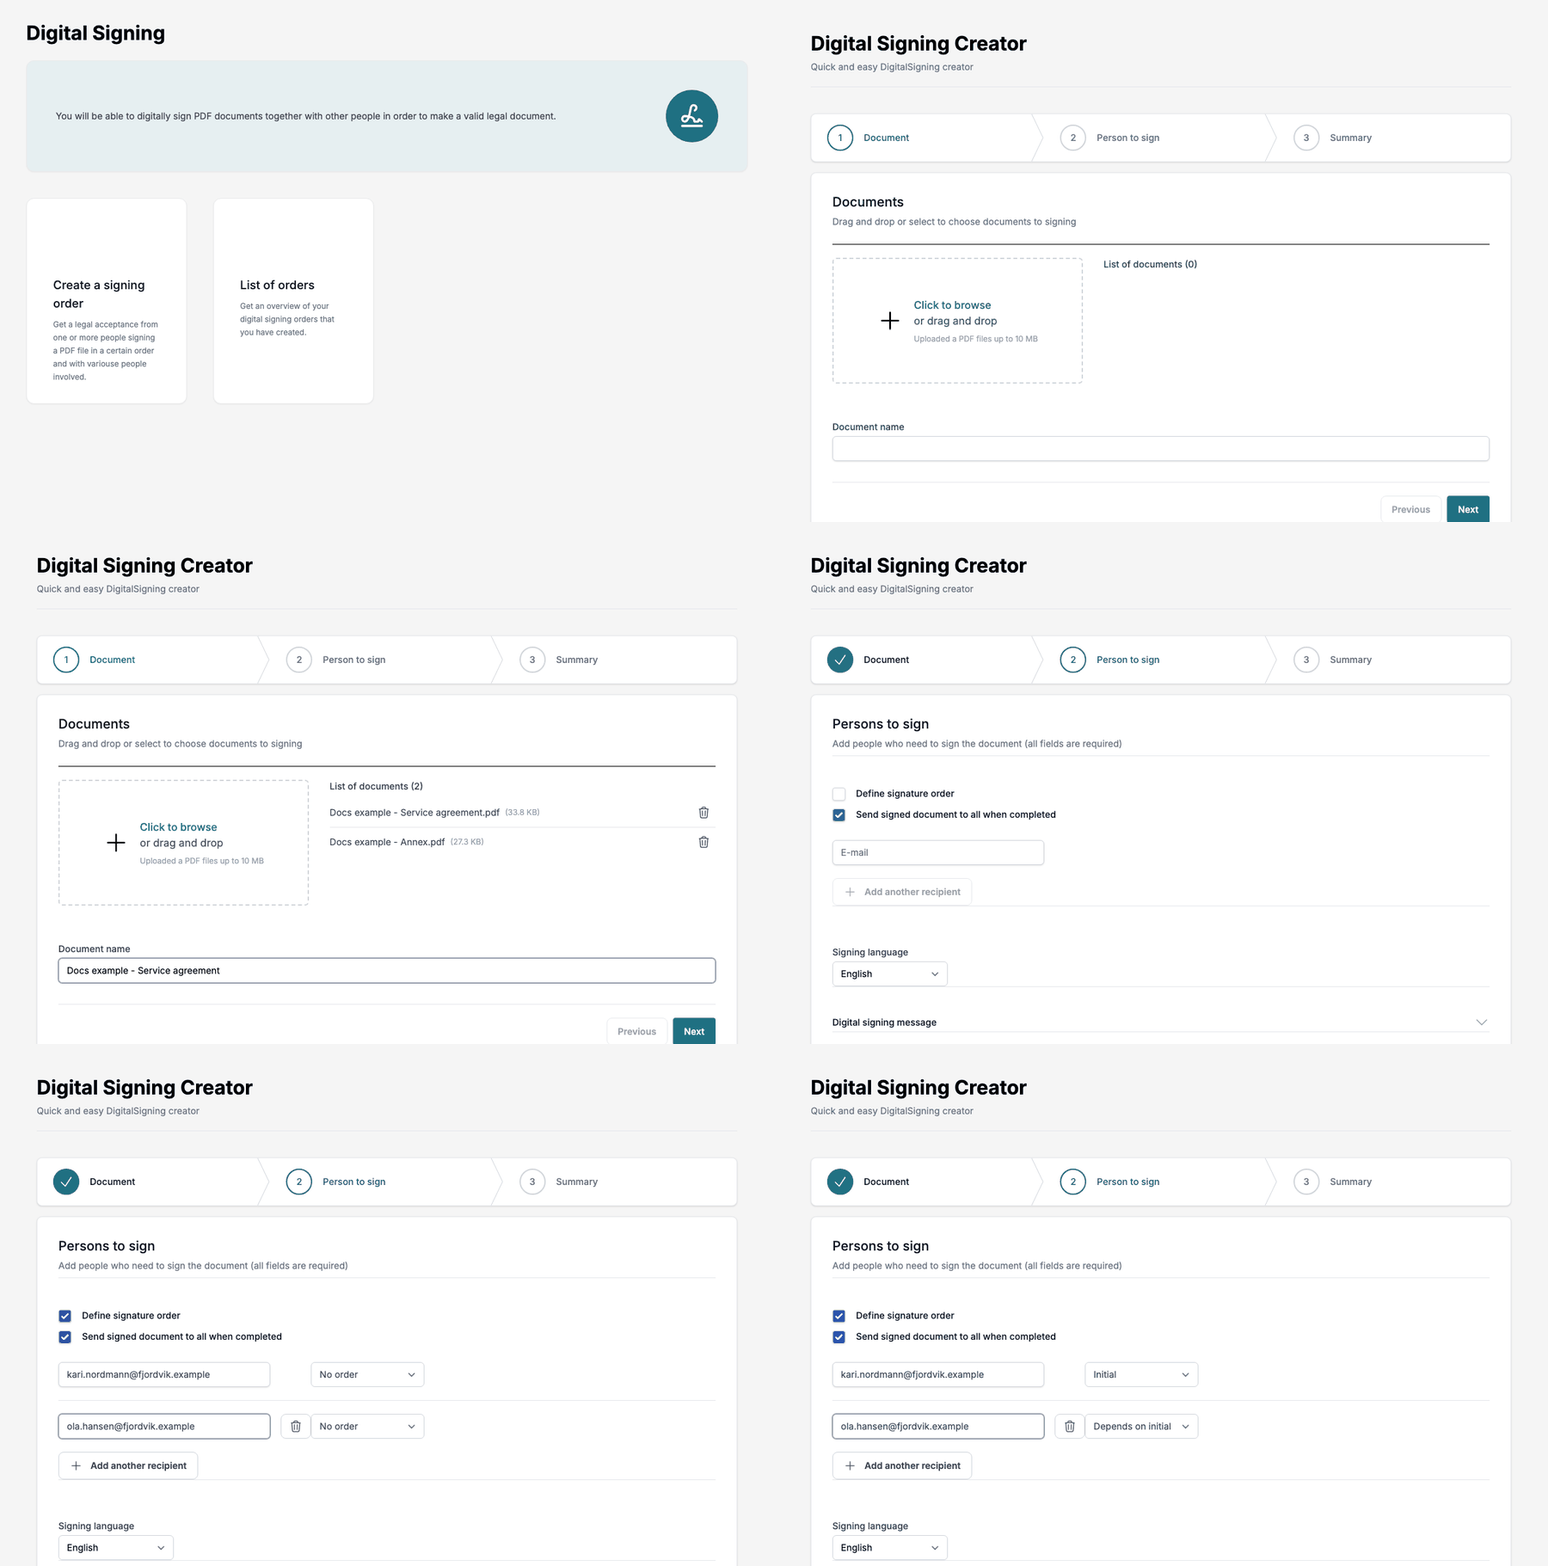
A signing order sends one or more PDF files to one or more people to sign. You create it in the Digital Signing Creator, which has three steps: Document, Person to sign and Summary. This page follows the steps in order.
Before you start, note the limits:
| Limit | Value |
|---|---|
| File type | PDF only |
| Files in one order | Up to 10 |
| Total size | Up to 10 MB for all files together |
| Document name | Up to 100 characters |
| E-mail subject and title | Up to 256 characters |
| E-mail message and signing message | Up to 8000 characters |
When your provider checks licence usage (see What depends on the provider), each file that each signer signs counts as one signing against your licence. An order with 2 files and 3 signers uses 6 signings.
Step 1: Document
Open the creator from the Create a signing order tile on Home.
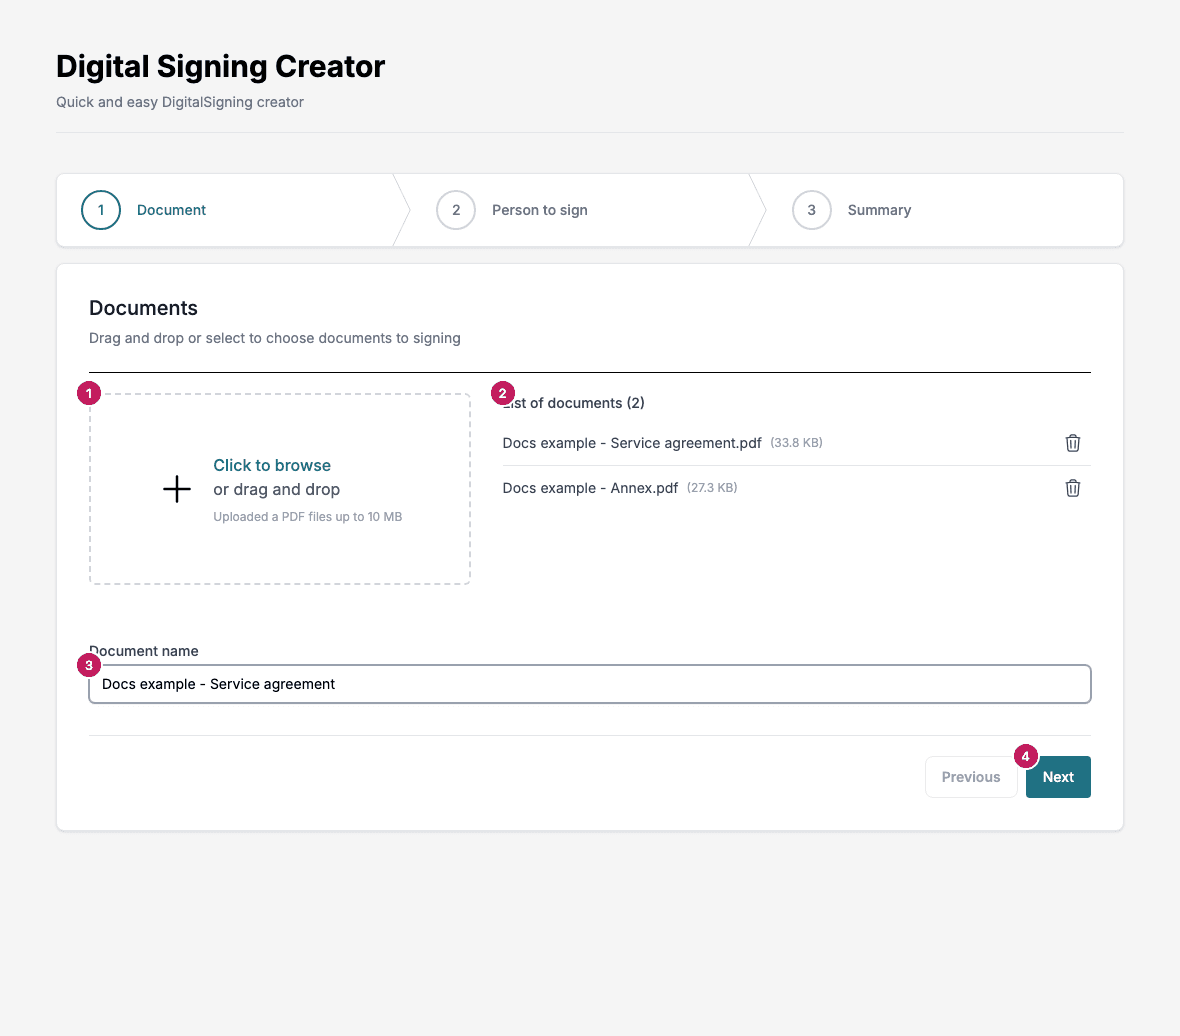
- The upload area. Click Click to browse and choose PDF files, or drag files onto the area. You can add files in several rounds. A file that is not a PDF is refused with File with wrong format, and a file with the same name as one already in the list is refused with File with the same name exist.
- List of documents shows every file you added, with its size. Click the trash icon beside a file to remove it.
- Document name is the name of the order. It is what you see in the list of orders and what [DOCUMENTNAME] stands for in the messages. Each time the list changes and holds exactly one file, the name is set to that file’s name, including
.pdf. Change it afterwards if you want another name. - Next moves to step 2. Previous is disabled on this step.
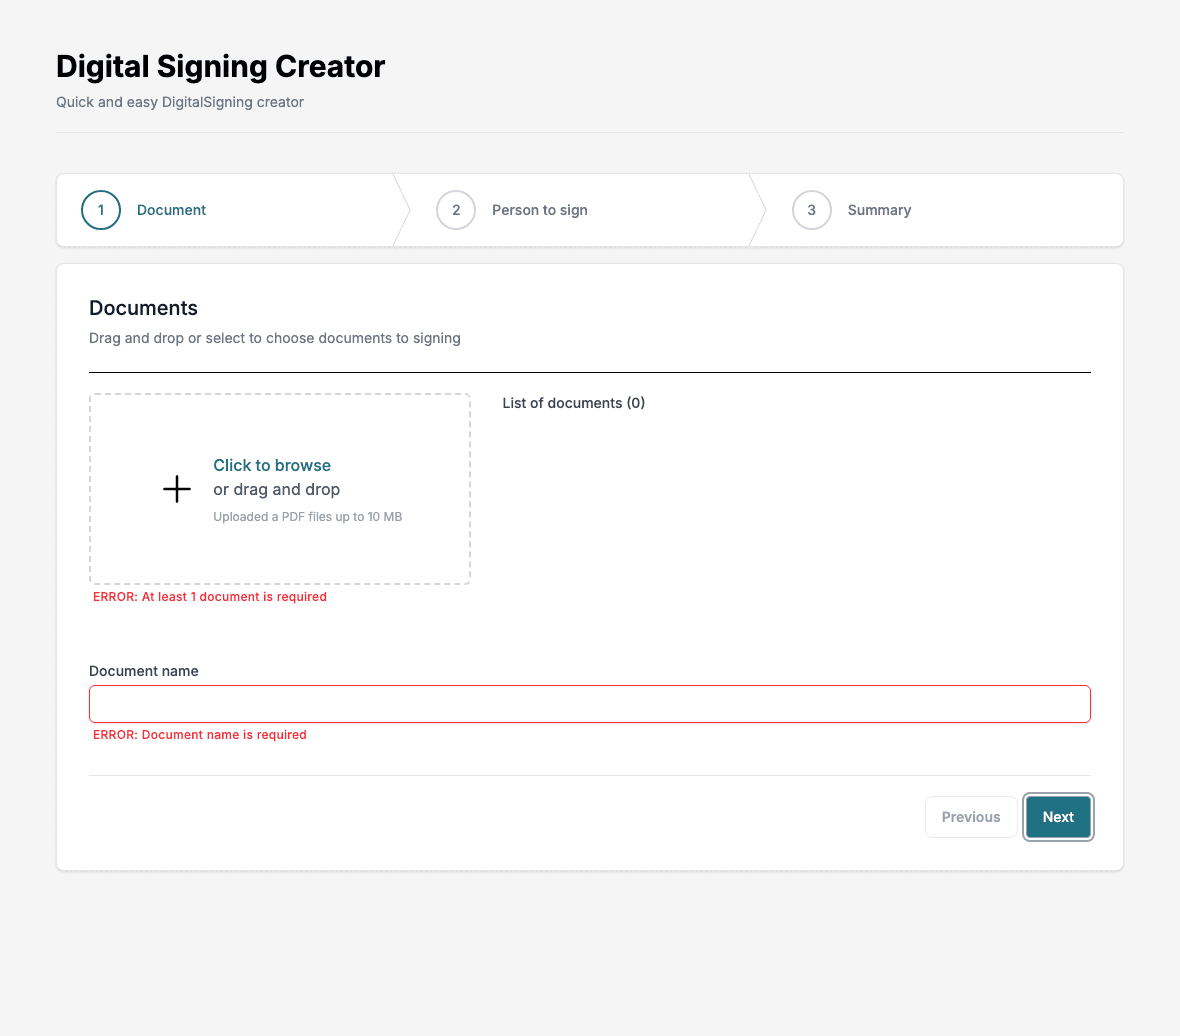
Signature stops you from going on when something is wrong, and shows the reason under the field:
| Message | What to do |
|---|---|
| ERROR: At least 1 document is required | Add a PDF file |
| ERROR: Document name is required | Type a name |
| ERROR: Max length 100 characters has been exceeded | Shorten the name |
| ERROR: File size of 10MB has been exceeded | Remove files until the total is 10 MB or less |
| ERROR: Unsupported file type | Remove the file that is not a PDF |
Step 2: Person to sign
Step 2 holds the signers, the language and the messages. Click Send here when you are done. There is no separate send button on step 3.
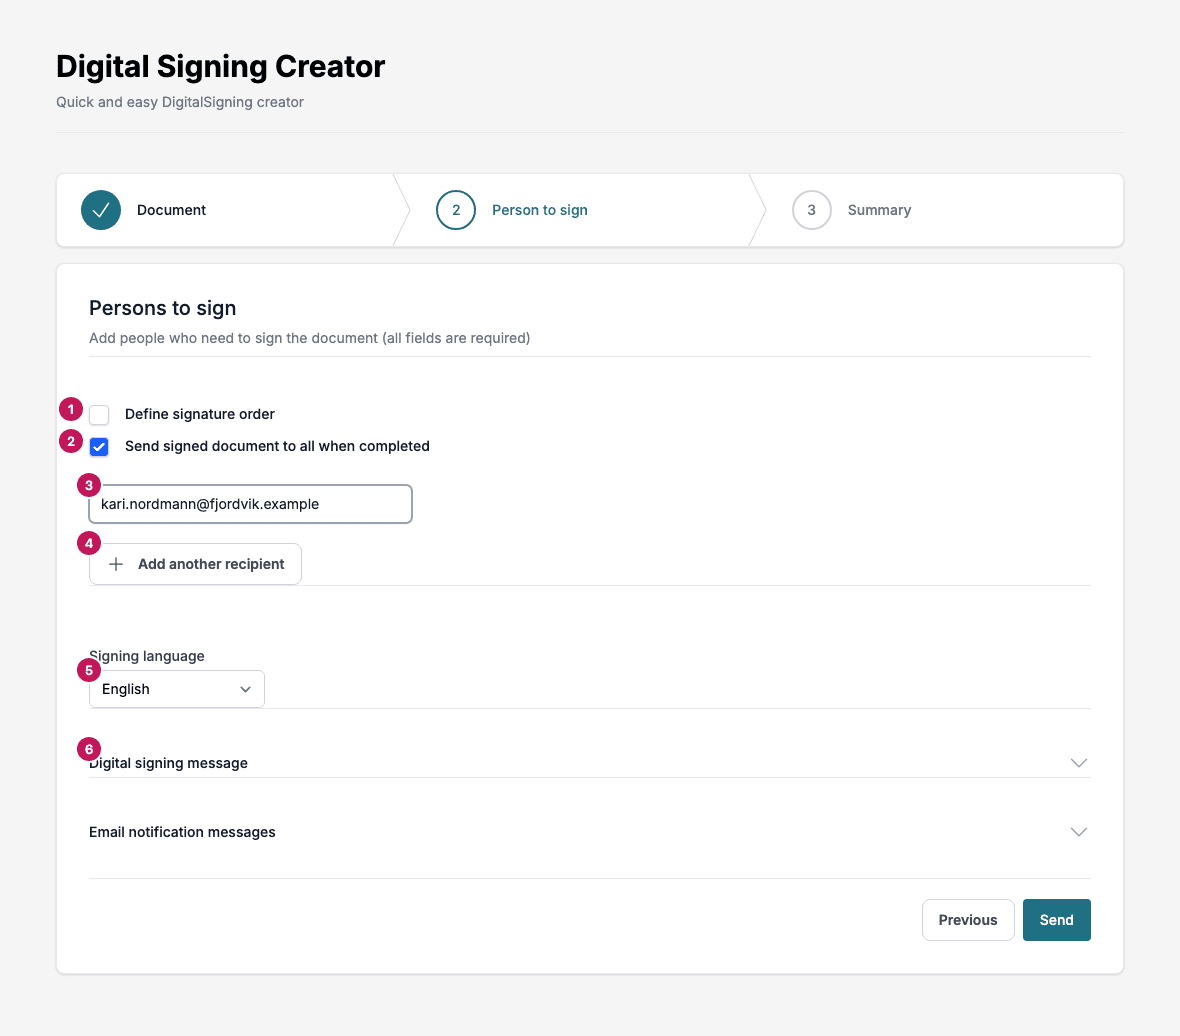
- Define signature order lets you decide who signs first. See Signing order.
- Send signed document to all when completed e-mails the signed PDF to every signer when the last one has signed. It is ticked by default.
- The E-mail field for the first signer. Every signer needs an address.
- Add another recipient adds a row. It stays disabled until the last row has an address.
- Signing language sets the language of the signing page and of the messages. You can choose English, Norsk or Svenska.
- Digital signing message and Email notification messages open the texts that signers receive. See Messages.
To remove a signer, click the trash icon on that row. The first row cannot be removed.
Signing order
Tick Define signature order to decide the sequence. Each row with an e-mail address then gets a list with three choices:
| Choice | Meaning |
|---|---|
| Initial | This person signs first. They get the request right away. |
| Depends on initial | This person waits. They get the request when all Initial signers have signed. |
| No order | This person gets the request right away and can sign at any time. |

When you use Depends on initial, mark at least one signer Initial. Signature does not stop you from sending without one, and the order then does not follow the sequence you meant. If you leave Define signature order unticked, everyone is No order.
With Scrive, signers marked No order also wait until all Initial signers have signed.
Messages
Two panels hold the texts. Click a panel title to open it. Both are filled in with your company’s templates, in the language you chose. Choose the Signing language before you edit the texts: changing the language replaces all four texts with the templates for the new language, and your edits are lost.

| Panel | What it is |
|---|---|
| Digital signing message | The title and message shown to the signer on the signing page. |
| Email notification messages | The subject and message of the e-mail that asks the person to sign. |
Use two placeholders in the texts:
| Placeholder | Replaced with |
|---|---|
| [DOCUMENTNAME] | The document name from step 1 |
| [SIGN-URL] | The personal link that opens the signing page |
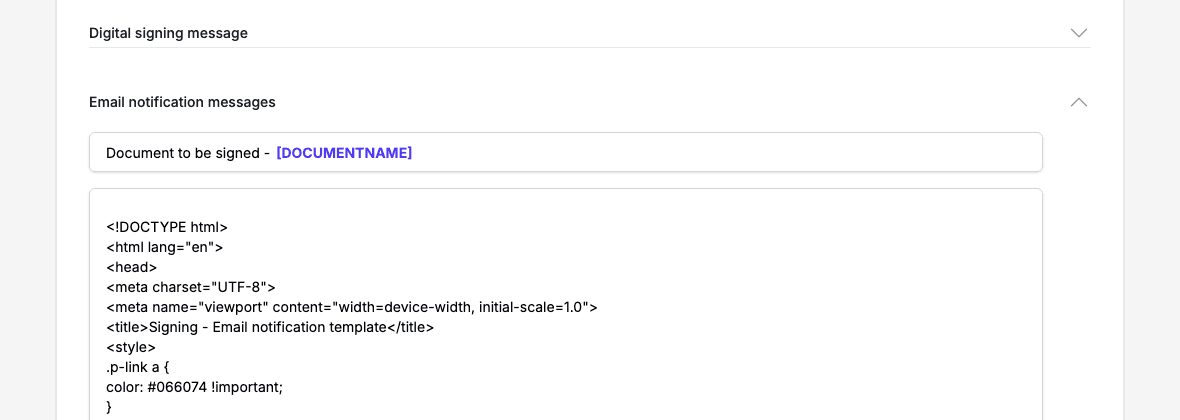
[SIGN-URL] must stay in the e-mail message, or the signer has no link to click. Every title and message field must have text. The message fields hold the template as HTML, so the tags appear as text in the editor. Change the words and leave the tags as they are.
Archive folder
When your company stores signed documents in the archive, step 2 shows Archive Folder to store signed documents. The list holds the folders your administrator chose for signed documents that you have access to.
- If storing is optional, the list starts with None (Do not store in Archive), and None is selected.
- If storing is mandatory, there is no None. The first folder is selected, and you can choose another.
Without the archive set up, the field does not appear.
Only Signicat and Verified store the signed PDF in the archive. With Scrive the field is shown, but the signed PDF is not stored in the archive.
Step 3: Summary
When you click Send, Signature creates the order with your provider and moves to step 3. The page shows Success and The form has been sent successfully. The signers now get their messages.
| Button | What it does |
|---|---|
| Create new one | Starts the creator again from step 1 |
| Go to list | Opens the list of orders |
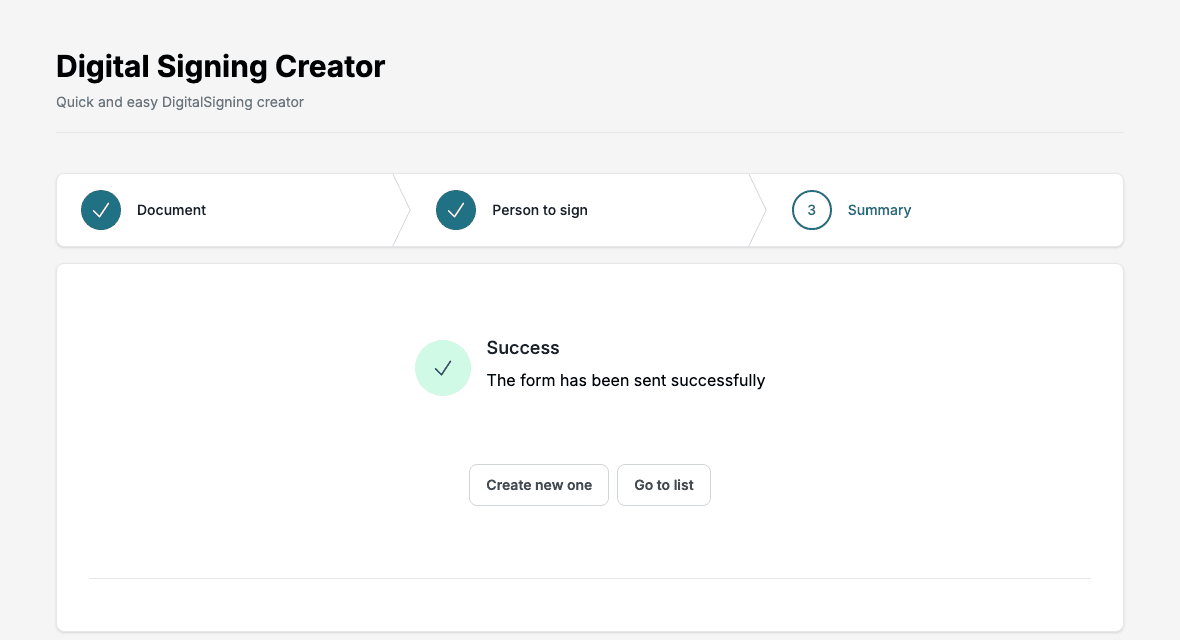
When the creator was opened from SmartDocs, the Orders entry in the left menu is hidden, Home goes back to SmartDocs, and step 3 shows one Go to SmartDocs button instead of the two above.
If the order is not created, you stay on step 2 and a message appears at the top.
What depends on the provider
The provider your company uses changes the creator. An administrator sets the provider. You see only the fields that the provider needs.
| Signicat | Verified | Scrive | |
|---|---|---|---|
| First name and Last name for each signer | No | Yes | Yes |
| Define signature order | Yes | No | Yes |
| Send signed document to all when completed | Yes | No | No |
| Digital signing message panel | Title and message | No | No |
| Email notification messages panel | Subject and message | Message only | No |
| Sign via list for each signer | No | No | When the provider offers the methods |
| Licence usage is checked | Yes | No | Yes |
When the Sign via list appears, it offers Sign via E-mail, Sign via BankId (NO) and Sign via BankId (SE), depending on what your provider has enabled.
Messages you may see
| Message | What it means and what to do |
|---|---|
| Your order will exceed you current licence usage. You used … of … available signings for current period. Please change your form or change your license to submit current order. | Files times signers is more than what is left of your licence. Remove a file or a signer, or ask your administrator to extend the licence. |
| License usage limit reached. Please change your license to create new order. | The licence for this period is used up. The creator stays open, but Next and Send are disabled. |
| License invalid | The company has no valid Signature licence. Ask your administrator. |
| Connection to external signing provider resulted in an error | The provider did not accept the order. No order is created. Try again, and ask your administrator to check the provider settings in Administration if it continues. |
| One or more of the provided personal numbers is invalid | The provider needs a personal number for a signer, and the creator has no field for it. This can happen with a Sign via BankId method. Choose Sign via E-mail for that signer and send again. |
| There was an error during creating of singing order | Signature could not save the order. No order is created. Try again. |
| Failed to create new order | Signature refused the order before it reached the provider, for example because it holds more than 10 files. The reason, when there is one, is shown under the message. Check the limits at the top of this page. |
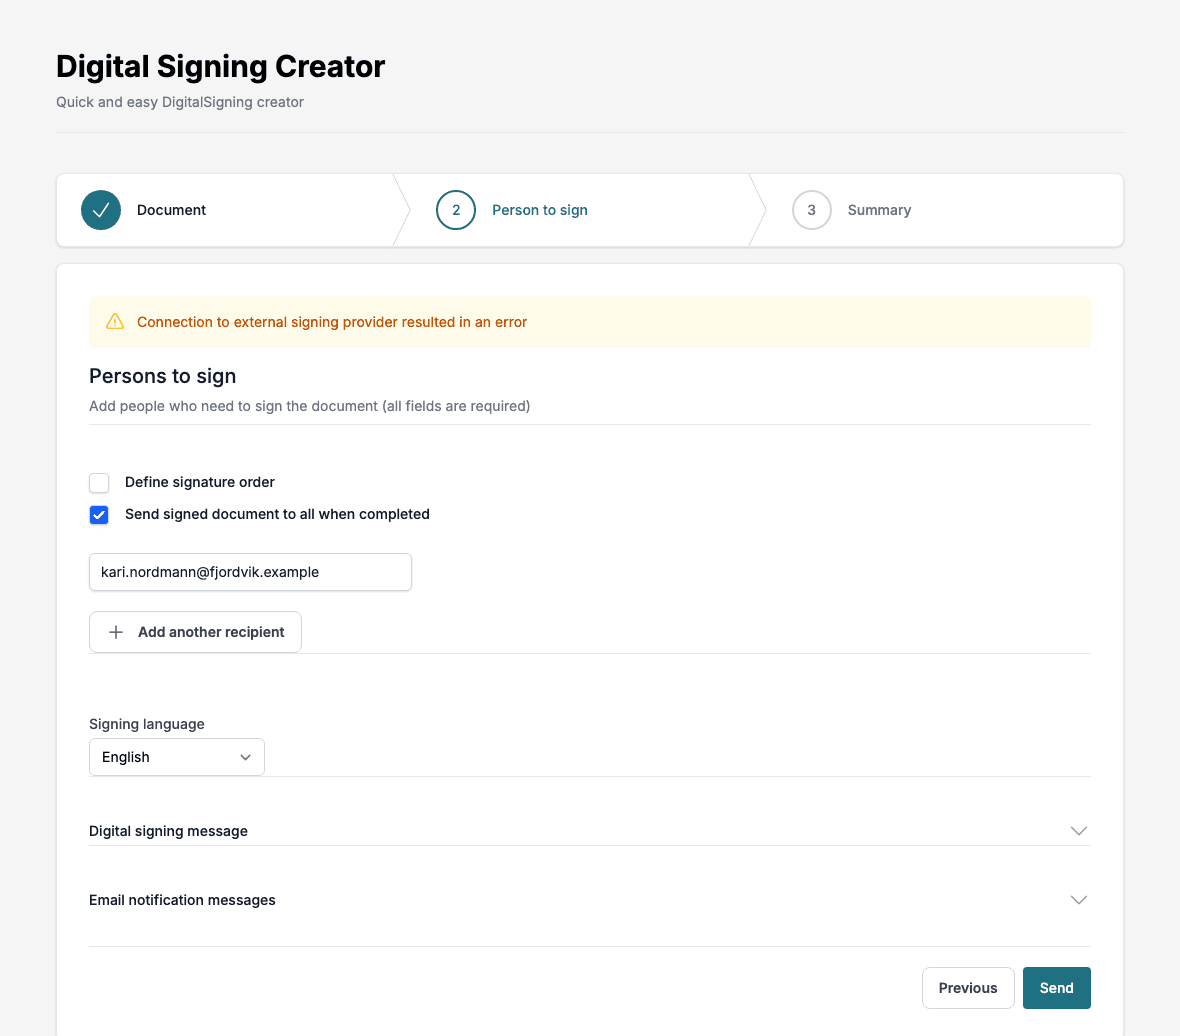
Your order is only created when the provider accepts it. After an error you can correct the form and click Send again.