Settings
Settings holds the company-wide details of your Doxis Doc Gen account. Open Administration and choose Settings in the side menu. It has four pages: Account, Notifications, Packages and Retention Policies. Packages is described on its own page, Doxis Packages. Fonts is a separate item in the side menu, see Fonts.
Account
Account Settings holds your organisation’s details.
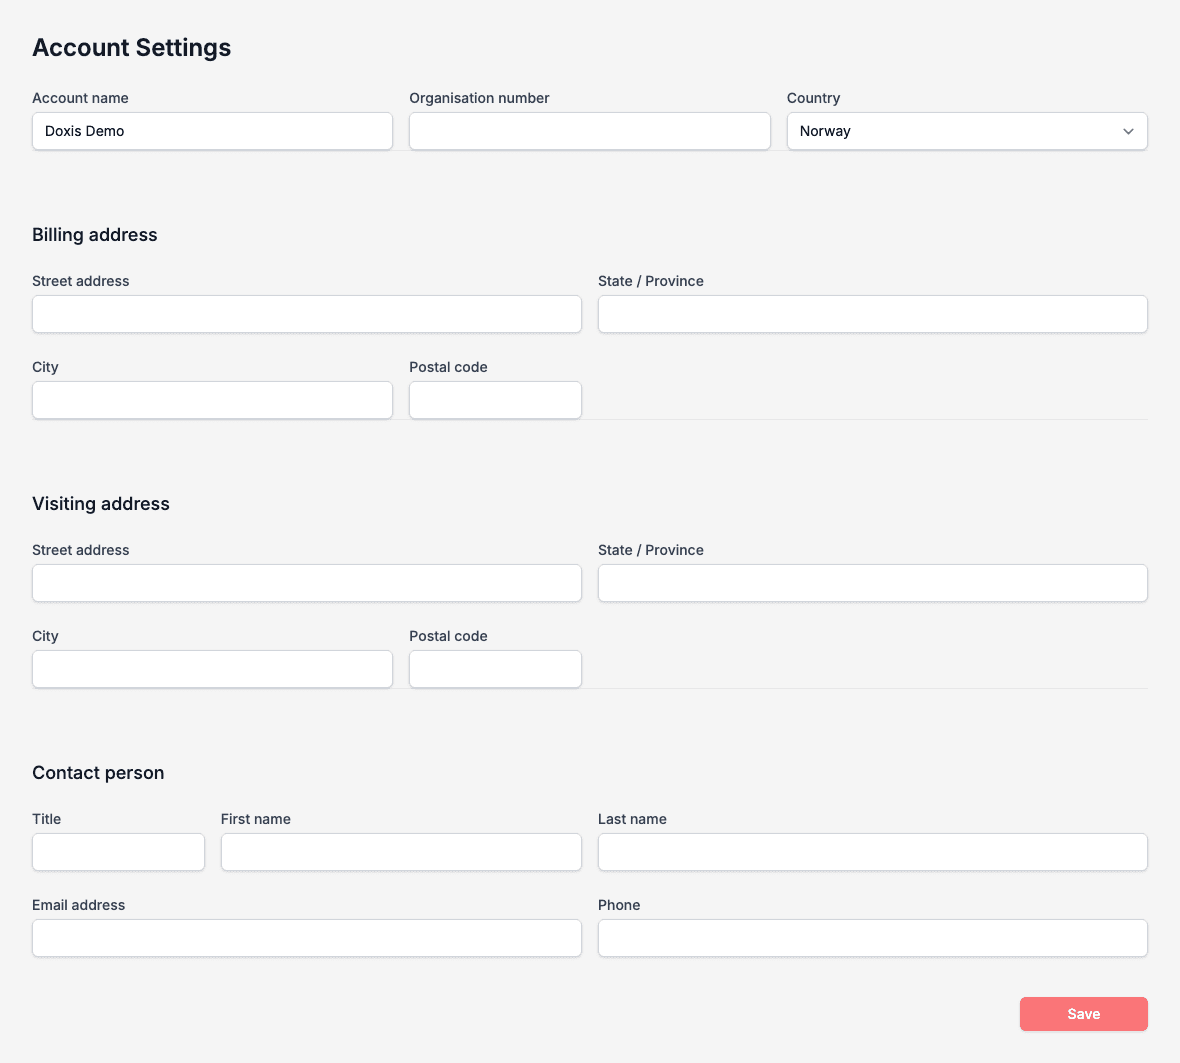
- Account name and Country are read-only. They were set when the company account was created.
- Organisation number: you can fill it in while it is empty. Once it is saved, it is read-only.
- Billing address and Visiting address: Street address, State / Province, City and Postal code.
- Contact person: Title, First name, Last name, Email address and Phone.
Change the fields you need and click Save.
Notifications
Notifications controls the e-mails that Doc Gen sends for you. Each e-mail is a template with a subject and a body.
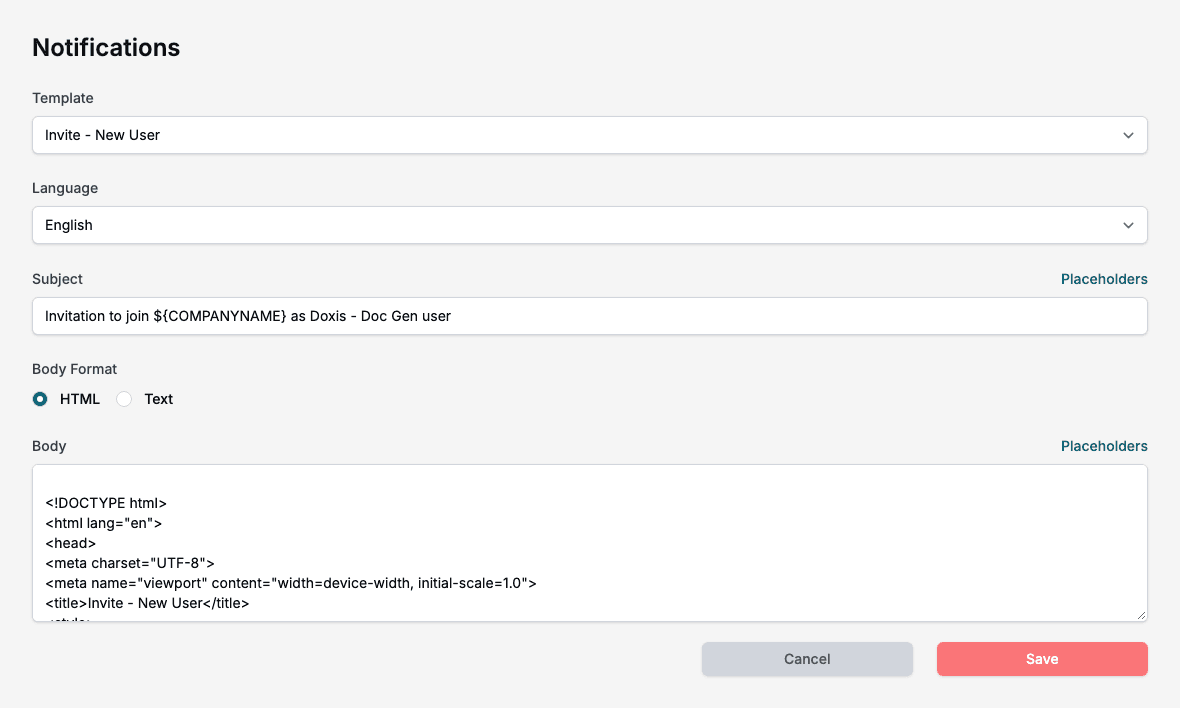
- Choose a Template.
- Choose a Language: English, Norsk or Svenska.
- Edit the Subject.
- Choose a Body Format, HTML or Text, and edit the Body.
- Click Save. Cancel discards your changes.
The Placeholders link next to Subject and Body lists the values you can insert, for example the company name or the invitation link.
| Template | Sent when |
|---|---|
| Invite - New User | You invite someone who has no Doc Gen account. |
| Invite - Existing User | You add someone who already has an account. |
| Signing - Signing process message template, Signing - Email notification template, Signing - Reminder notification template, Signing - Canceling order notification template | A document is sent for signing, reminded about, or cancelled. |
| Customers - Approval status change template | The approval status of a company account changes. |
| Users - User status change template | You set a user’s Status to Locked. The e-mail goes to that user. |
Keep the placeholders in the text, for example the invitation link in an invite, or the e-mail cannot do its job.
Retention policies
A retention policy says how long records may be kept before they are deleted. Retention Policies lists your policies with Name, Lifetime, Disabled, Created and Last updated.
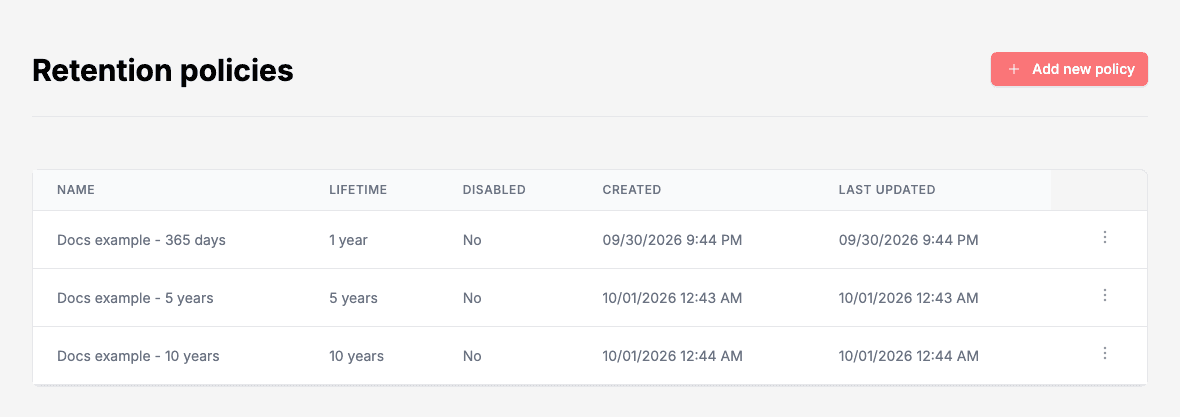
Add a policy
- Click Add new policy.
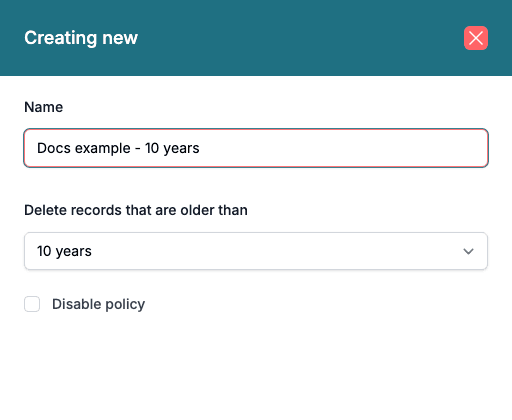
- Type a Name.
- Under Delete records that are older than, choose a lifetime: 1 day, 7 days, 14 days, 30 days, 90 days, 180 days, 1 year, 5 years, 10 years or 20 years.
- Tick the box in front of Disable policy if the policy should not apply yet. Click the box itself; clicking the words does not tick it.
- Click Submit.
Use Open options, then Edit, on a row to change a policy.
A policy does nothing by itself. It applies where you choose it: on an archive folder (see Archive integration) and in the Retention Policies setting of a WebEditor configuration (see Interact).