Team
The Team pages are where you manage the people in your company account: who they are, what role they have, and which access groups they belong to. Open Administration and choose Team in the side menu. It has five pages: Manage, Invite, Roles, Access and Integration. Integration holds the Azure AD integration.
Manage Team
Manage lists everyone in your company.
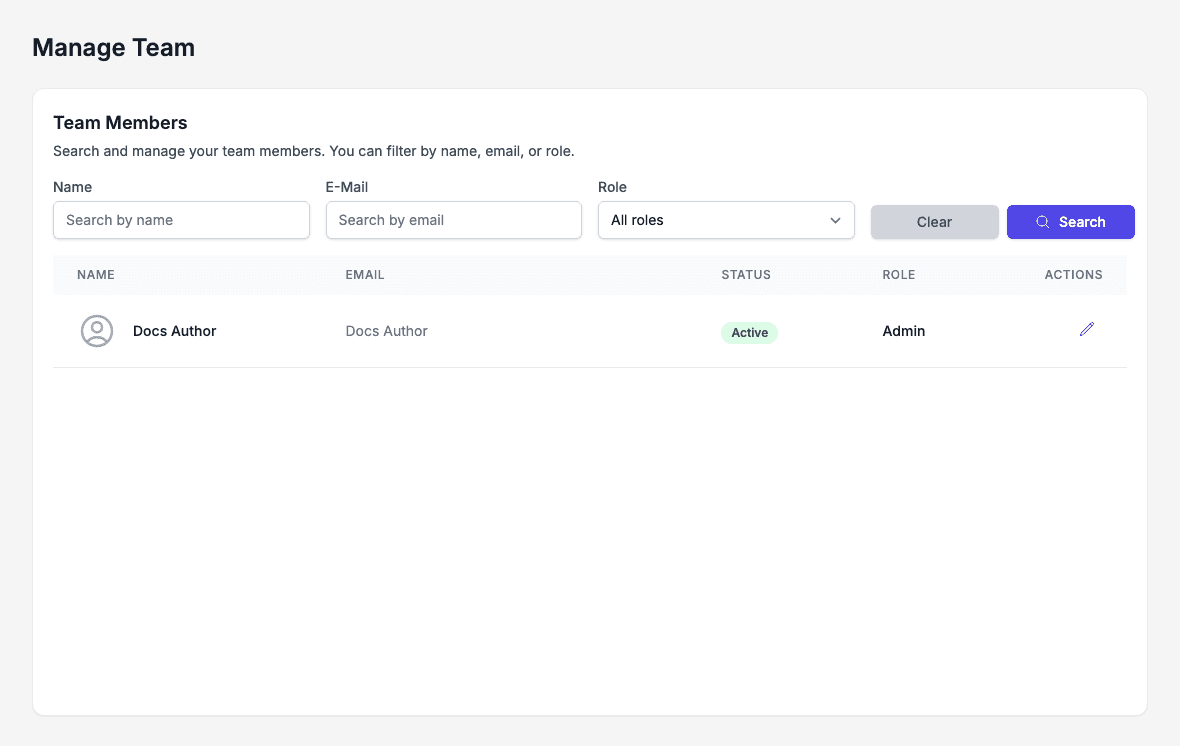
To find a person, fill in Name or E-Mail, or choose a Role, then click Search. Clear empties the filters. The list shows each person’s Status and Role.
Edit a user
Click the pencil icon (Edit) on a row to open Edit User.
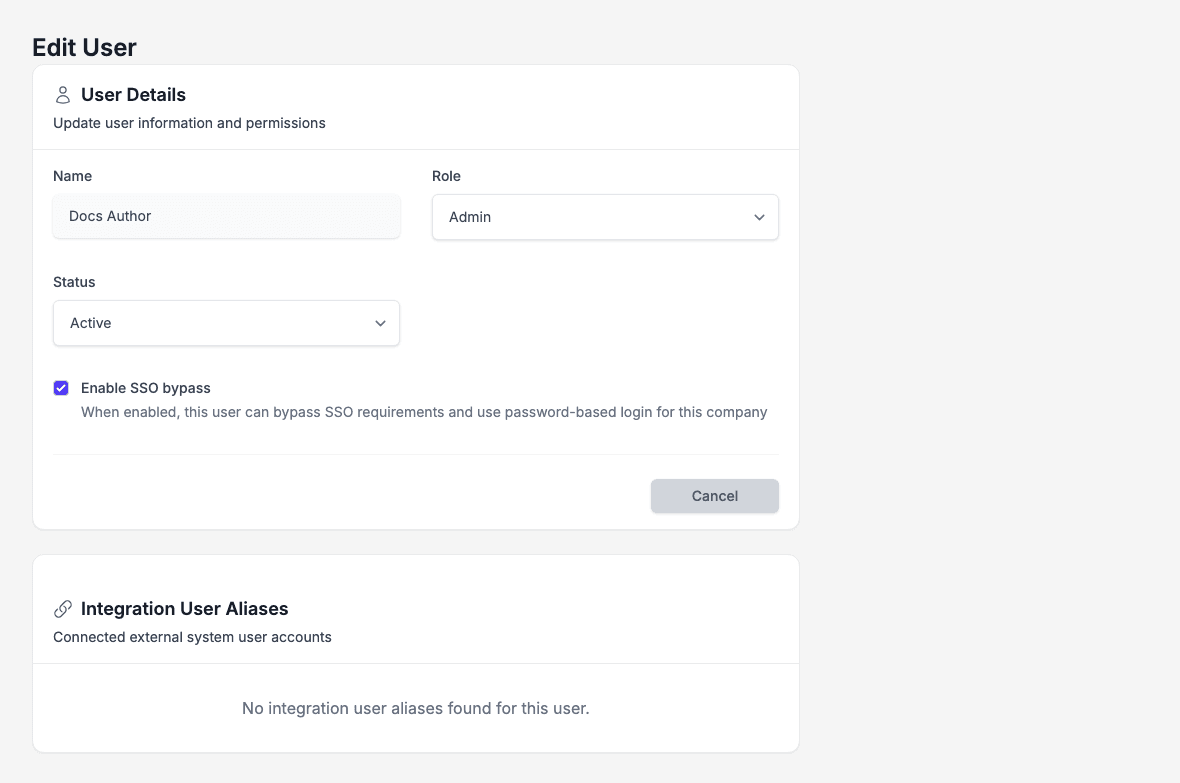
You can change:
- Role: the role the person has.
- Status: Active, Locked or Deleted.
- Enable SSO bypass: lets the person sign in with a password for this company even when sign-in through your identity provider is required.
Click Save Changes and the list opens again. You cannot change your own user. On your own row the fields are locked and the page only shows Cancel.
If your licence has no room for another active user, saving fails with License usage limit reached. Please change your license to invite new user.
Integration User Aliases lists the external system accounts connected to the user. Reset Secret next to an alias clears the secret stored for it, and is only available when the alias has one. When the user has no aliases, the card says No integration user aliases found for this user.
Invite users
Accounts in Doc Gen are created from an invitation. There is no public sign-up, so a new colleague starts with an invite from Invite.
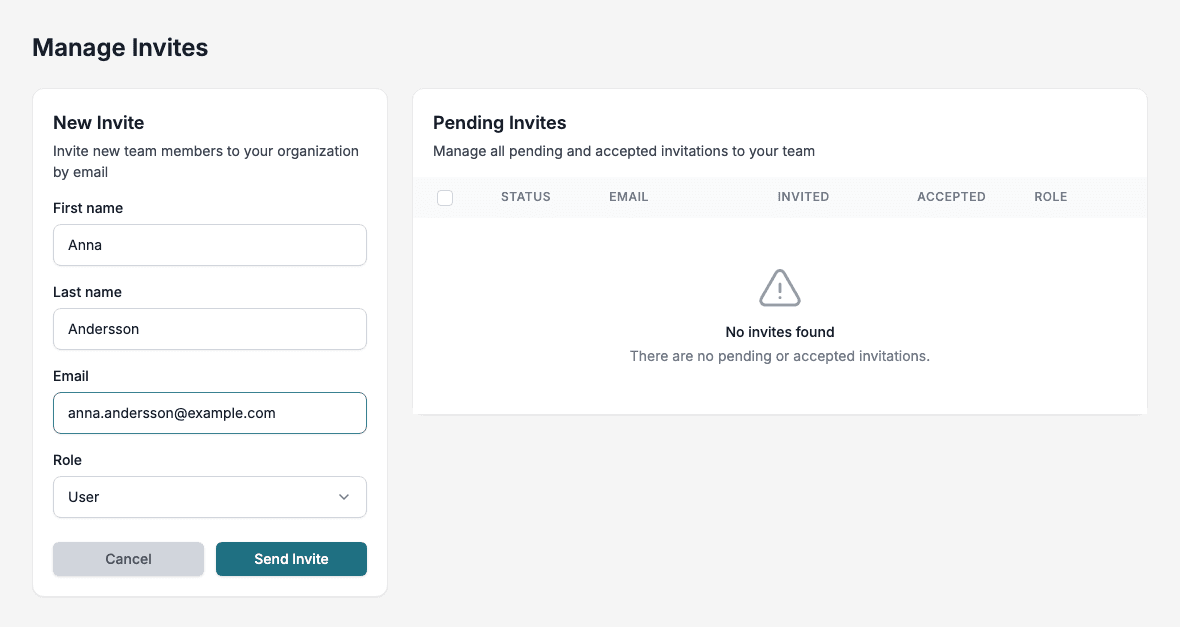
- Go to Administration, Team, Invite.
- Fill in First name, Last name and Email.
- Choose a Role.
- Click Send Invite. Doc Gen shows Invitation sent successfully.
What the person receives depends on whether they already have a Doc Gen account:
- New to Doc Gen: an e-mail with a link. The link opens the page where they create their account.
- Already a Doc Gen user: an e-mail that tells them they were added to your company. They do not need to create an account.
You can change the e-mail text in Settings.
Pending invites
Pending Invites on the same page lists invitations with Status, Email, Invited, Accepted and Role.
| Status | Meaning |
|---|---|
| Pending | The person has not accepted the invitation yet. |
| User | The person accepted, or already had a Doc Gen account and was added to your company straight away. |
Tick one or more pending rows and click Remove Selected to withdraw the invitations.
📝 Note: When your company uses the Azure AD integration and Block Manual Invitations is on, Send Invite is refused with a message that manual invitations are disabled. See Azure AD integration.
Roles
A role decides which products and features a user can use. Roles lists them with a short description of what each gives access to.
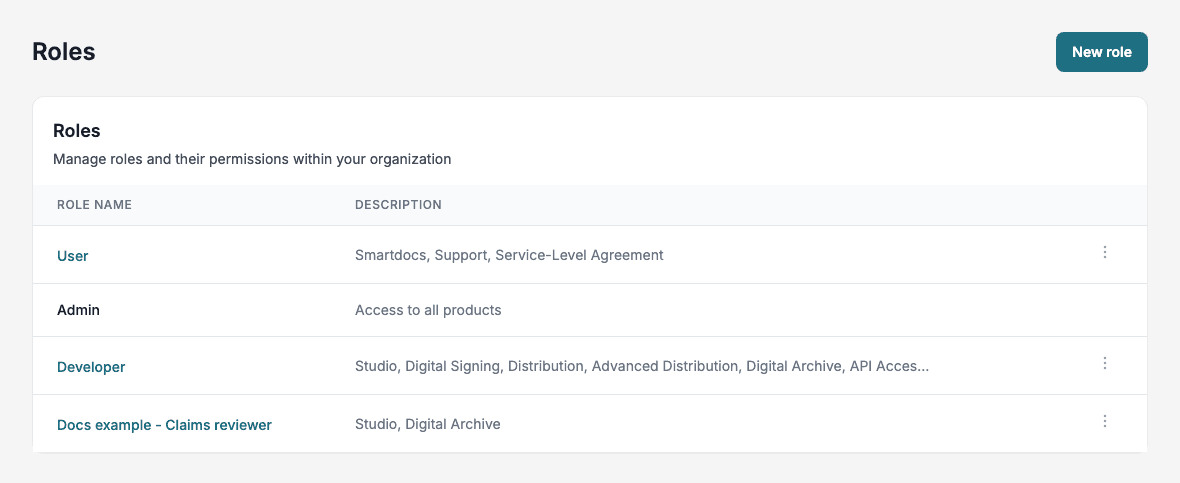
Doc Gen comes with the roles User, Admin and Developer. Admin gives access to all products and cannot be edited.
Create a role
- Click New role.
- Type a Role name.
- On the Features tab, tick the products under Product access. Some products list Additional features next to them, for example Design and Deployment under Studio. Ticking a product selects all of its features, and you can untick the ones you do not want.
- Click Save.
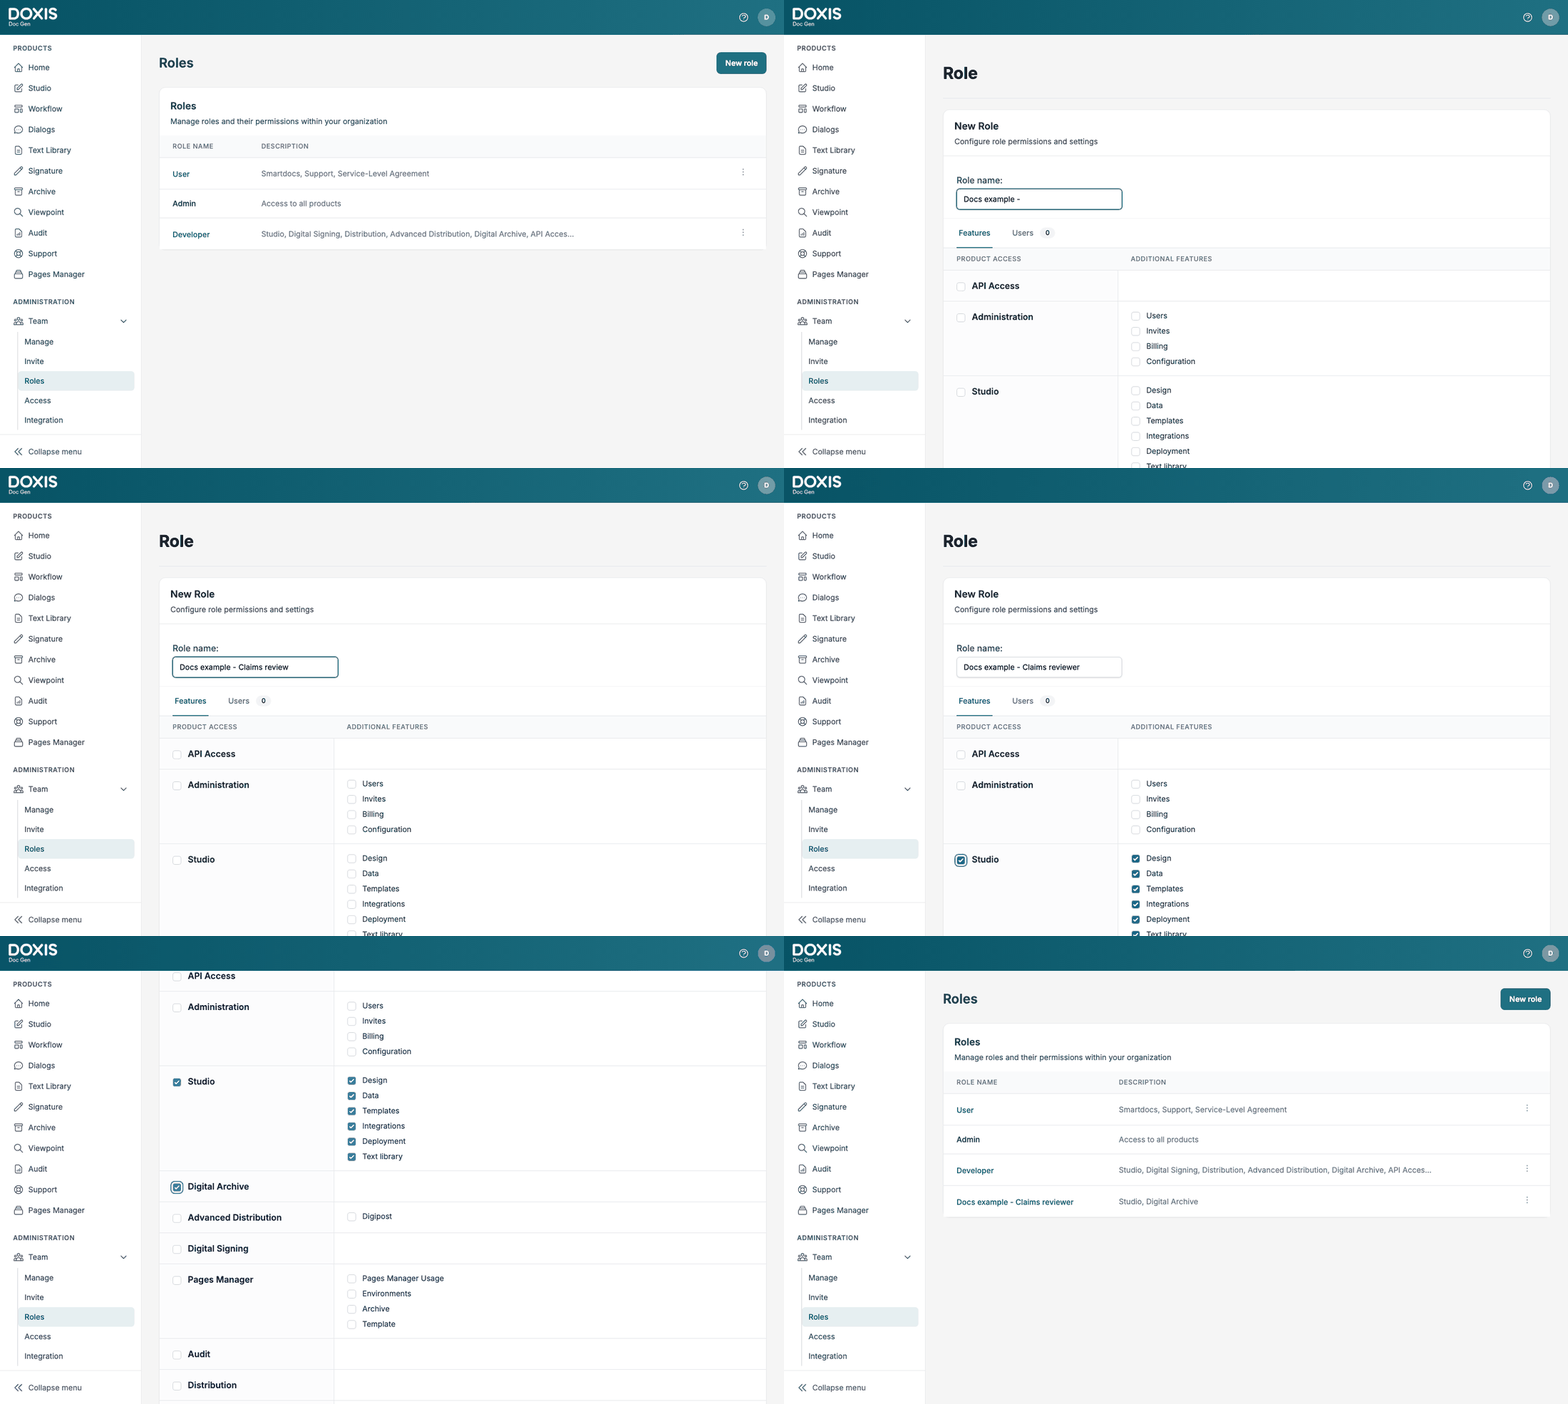
The role editor shows one row per product. Select only what the role needs.
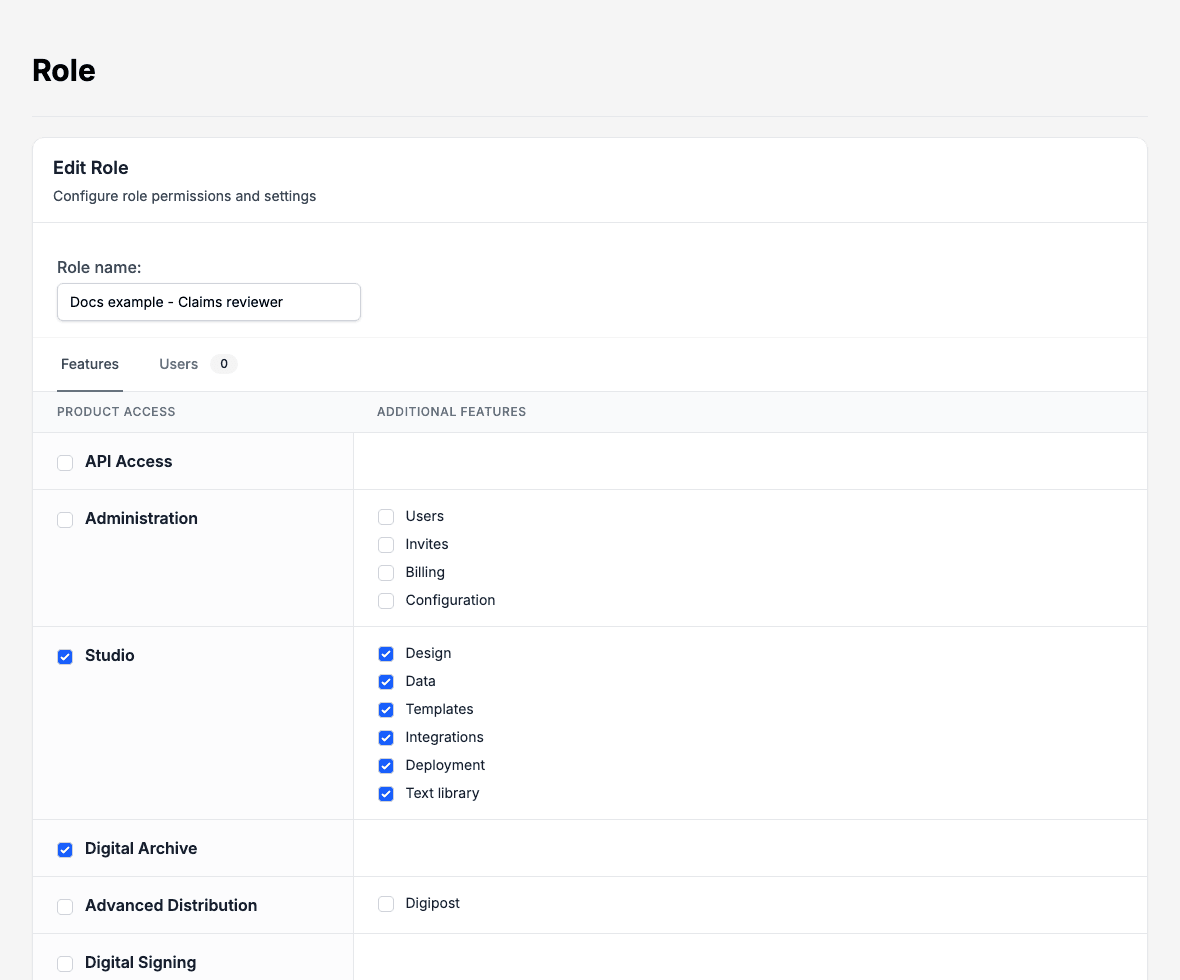
The Users tab shows who has the role. When your company uses the Azure AD integration, the editor also has an Azure App Role list that links the role to a Microsoft app role.
Edit or delete a role
Use Open options on a row and choose Edit or Delete. If users still have the role, the button reads Move users and delete role and moves them to another role before it deletes the role. Otherwise it reads Delete role.
Access groups
Access groups collect users so that a whole group can be given access at once. For example, Archive integration uses access groups to decide who sees an archive folder.
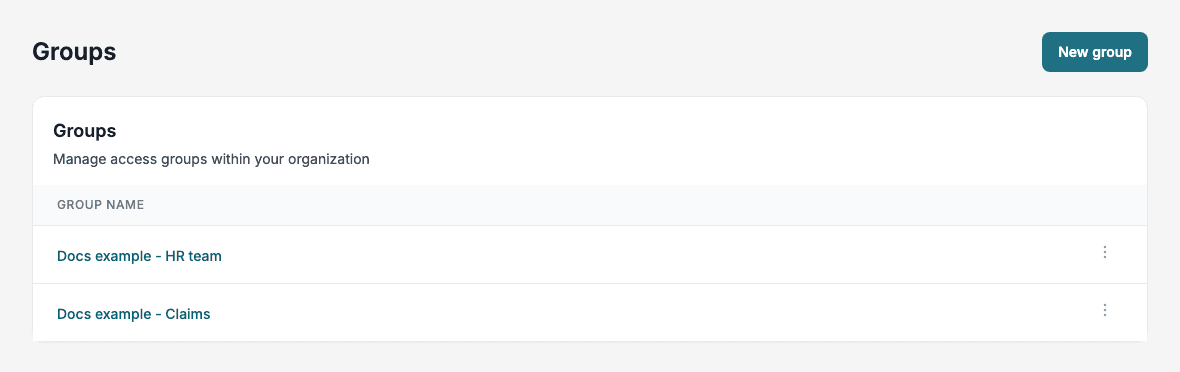
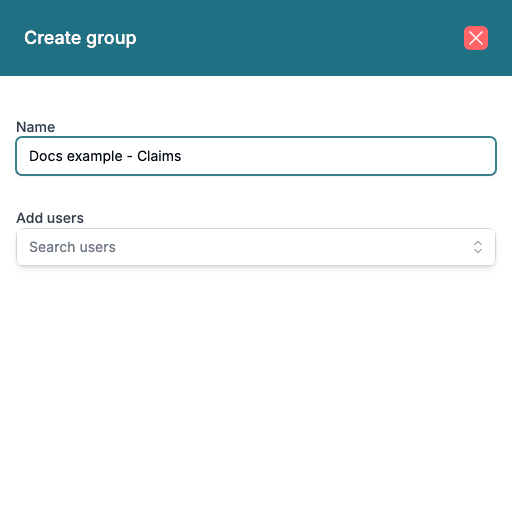
Create a group
- Open Access and click New group.
- Type a Name.
- Optionally search for people under Add users and select them.
- Click Create.
Change the members
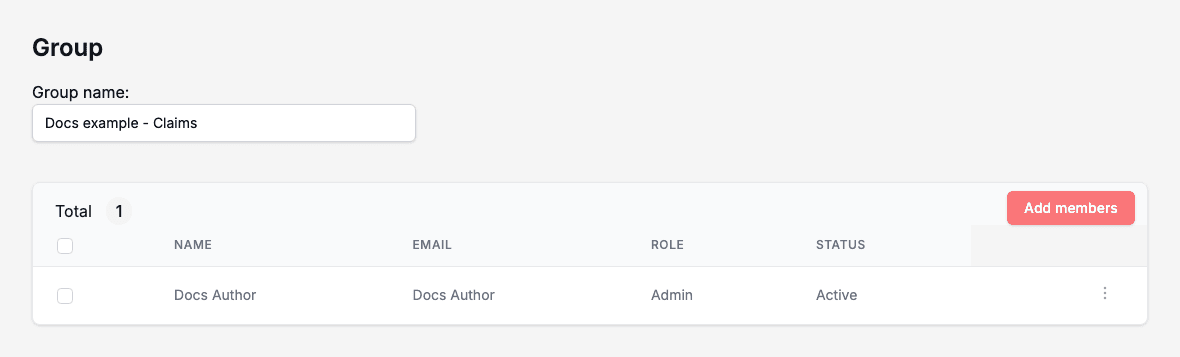
Click a group name to open it. The group page shows the total number of members. Click Add members to add people, or use Open options, then Remove, on a row to take someone out. Use Open options on the group list to Edit or Delete a group.