Getting Started
📝 Note: You need access to Doc Gen Studio to follow these steps. If you do not have access, contact your system administrator.
This guide shows how to create and use your first Smartform in Doc Gen.
Step 1: Open Studio
- Go to your start page
- Click the Studio card
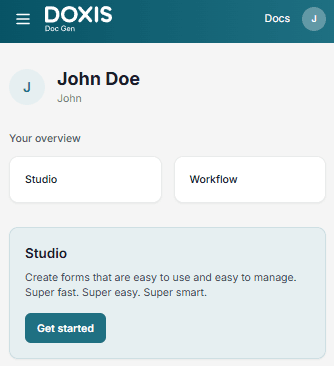
Studio opens on Home. See Studio workspace for a tour of the screen.
Step 2: Create a Smartform
- Click Create form on Home
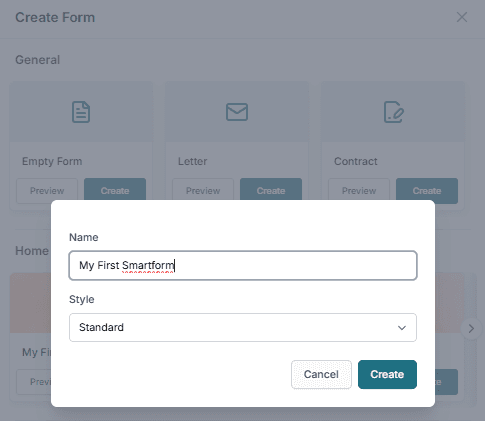
- Choose a template in the Create Form window:
- Empty Form, Letter or Contract, which come with Studio, or
- A template of your own company, if it has any
- Click Preview if you want to look at a template first, and Create to start with it
- Enter a Name (for example: My first Smartform)
- Choose a Style, or leave the one that is selected
- Click Create
The Smartform is kept in the folder you were viewing. See Create a Smartform for the details, and for the warning that Studio shows when the name is already in use.
You can also start from a file. Click Import in the Smartforms list to build a Smartform from a PDF or JSON file. See Import Smartforms.
Step 3: Design your Smartform
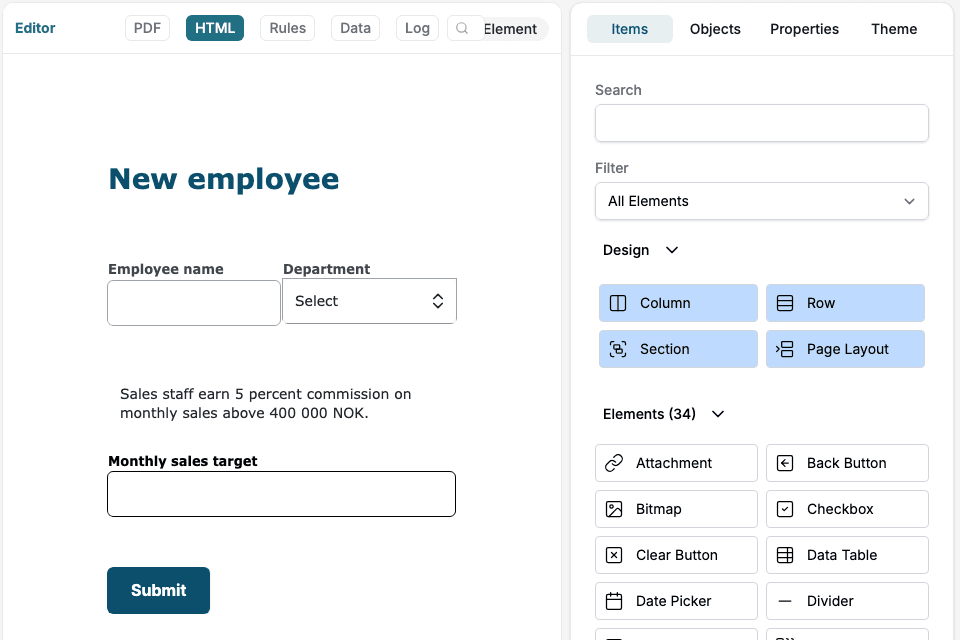
You can now edit your Smartform. The menu on the left collapses to icons while you work, so the editor has the full width.
- Add or update fields using the Items panel on the right
- Adjust layout and content
- Make sure everything looks correct before continuing
In this example, we use a simple Smartform layout to keep things easy to understand.
For a tour of the Design tab, see Designing Smartforms.
Step 4: Publish and open the Smartform
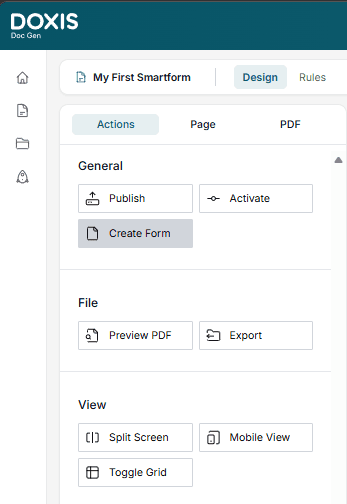
- In the Actions section on the left:
- Click Publish to save your changes as a new version in Development
- Click Activate to make the Smartform available
- Click Create Form to open the Smartform
Create Form opens the Create dialog, where you choose the Environment and the Language. Choose Development and click Create. If your changes are not published, or the Smartform is not active, Studio publishes and activates it for you, so you can go straight to Create Form. See Test your Smartform.
The Smartform opens in a new browser tab.
💡 Tip:
To test an existing Smartform, open it from the All Smartforms list (click its name, or choose Edit in the row menu of the list) and click Create Form in the Actions section.
See Find and organise Smartforms.
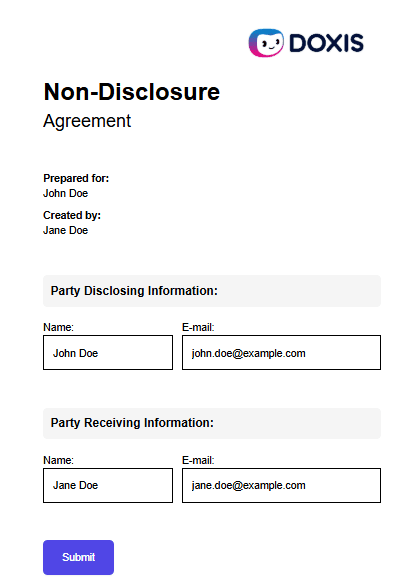
Step 5: Fill out the form
- Enter data in the Smartform
- Click Submit
After submission:
- The form becomes read-only for the user
Step 6: View submitted data
- Go back to the Smartform in Studio
- In the bar at the top of the Smartform, click More options (the three dots in a row)
- Select Records
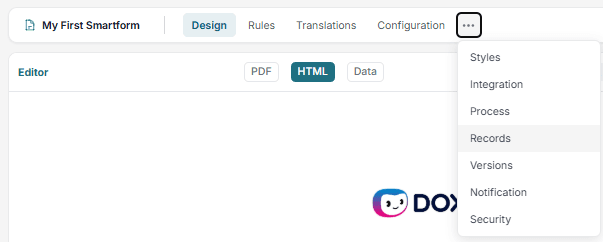
While you are on Records, it is shown in the bar next to Configuration. See Studio workspace.
Step 7: Review the result
- In the Records tab, find the record you just submitted
- Status shows Complete when the form has been submitted, and In progress when it has not
- Click the Id of the record to view the submitted data
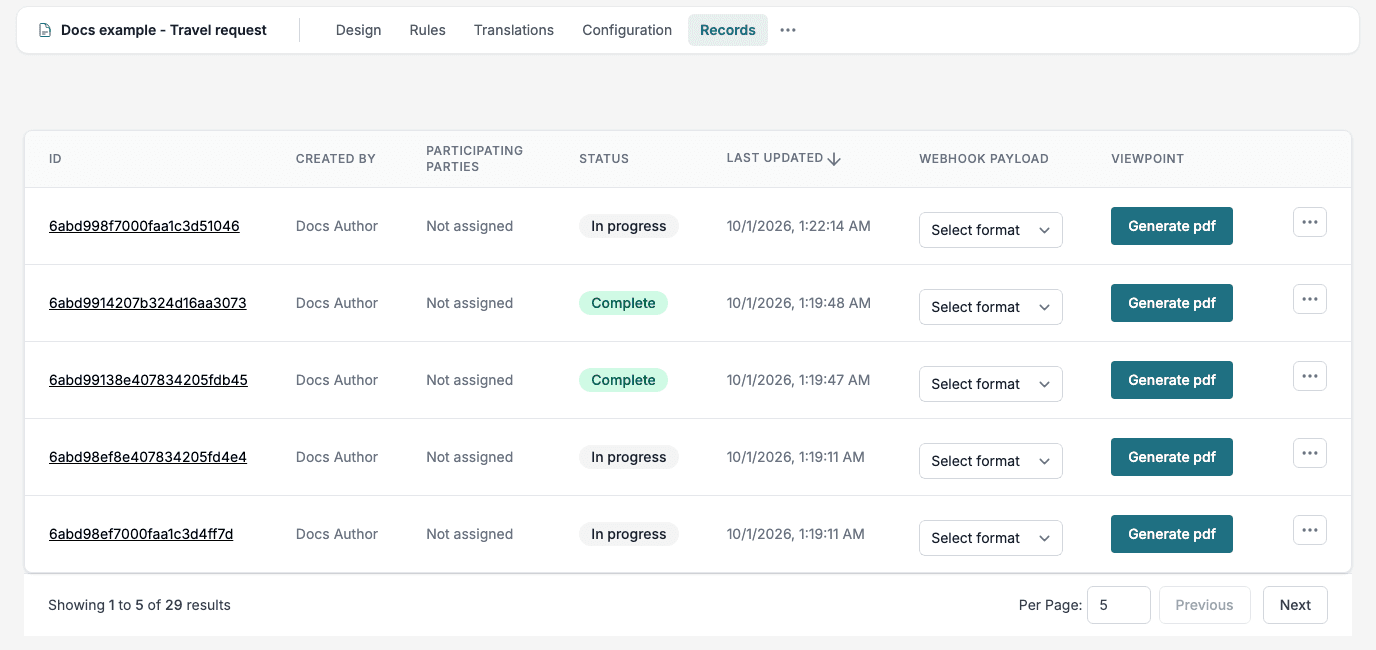
For the columns and buttons in the list, see Records.
Result
You have now:
- Created a Smartform
- Published and activated it
- Filled it out as a user
- Viewed the submitted data
You are now ready to continue working with Smartforms in Doc Gen.