Page breaks, page layouts and excluded content
These settings decide what is printed in the PDF, where a new page starts, and when the paper size or the header and footer change part-way through one document. They work with the Pages 2.0 engine. Document-wide settings are on the PDF tab.
Section settings
- In the designer, select a section.
- On the Properties tab, open PDF Settings.
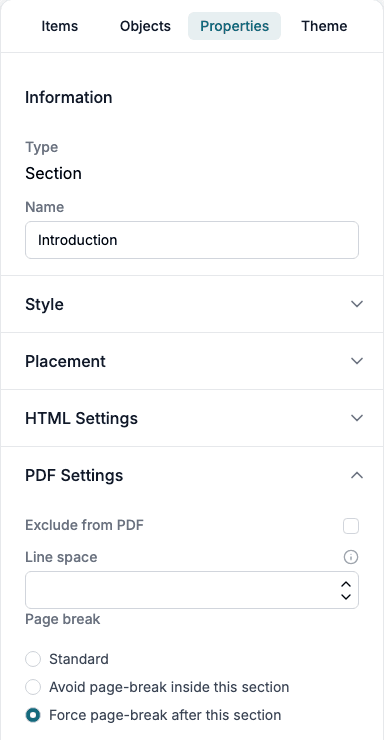
| Setting | What it does |
|---|---|
| Exclude from PDF | Leaves the section and everything in it out of the PDF. The other PDF settings of the section are then grey. |
| Line space | A multiplier from 1 to 5 for the space between lines. Leave it empty for the default. |
| Page break | Standard: the page breaks where the content needs it. Avoid page-break inside this section: the section is kept on one page when it fits. Force page-break after this section: the next section starts on a new page. |
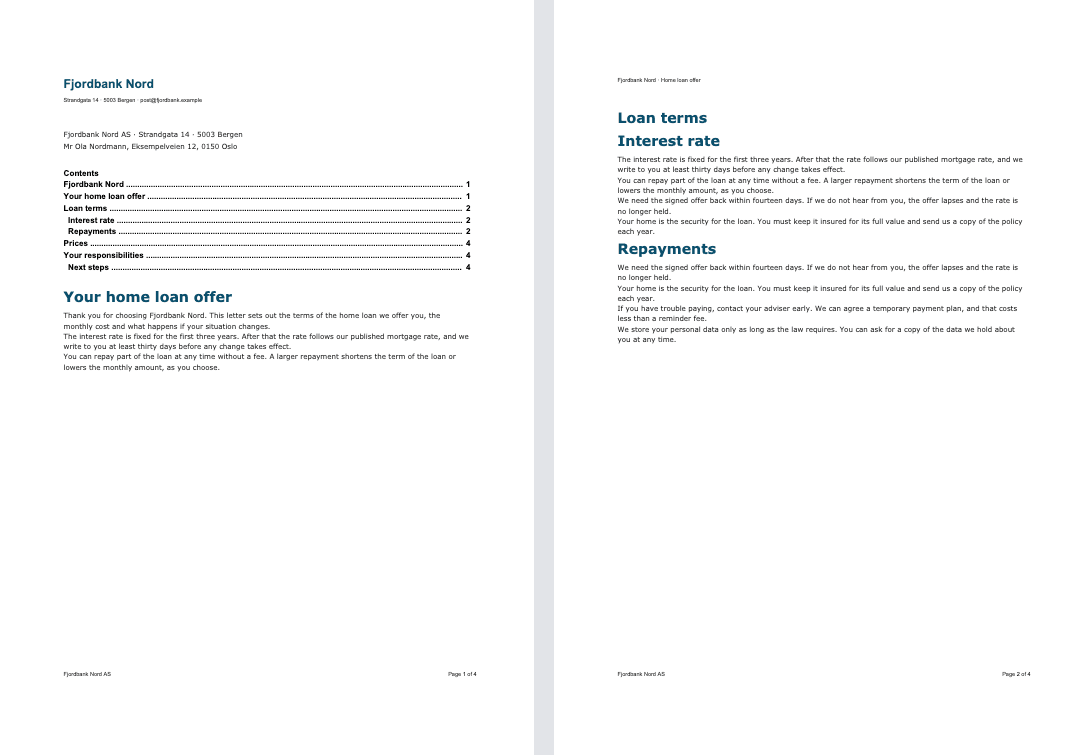
For example, with Force page-break after this section on the section Introduction, the section stays on page 1 and the next section starts on page 2.
Exclude from HTML
Under HTML Settings, Exclude from HTML hides the content of the section in the on-screen form. It does not change the PDF: unless Exclude from PDF is also ticked, the content is still printed.
Element settings
- Select an element.
- On the Properties tab, open PDF Settings.
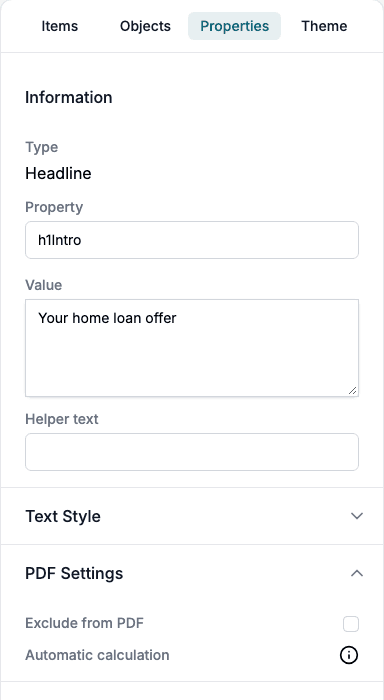
- Tick Exclude from PDF to leave the element out of the PDF.
Automatic calculation is shown but locked.
Page layout breaks
A page layout break starts a new page and can give it a different paper size, orientation, margins, header and footer. Use it, for example, for a wide price table on a landscape page.
- Select the section the break should come after.
- On the Items tab, under Design, click Page Layout. A bar called Page Layout Break appears below the section. A new break starts with the document’s page size, orientation, margins, running header and running footer, and the bar shows the paper size, orientation and margins that apply from there.
- Select the bar. On the Properties tab, open Custom PDF Settings. If Reset to global layout under PDF Layout is ticked, clear it first: Custom PDF Settings only shows while it is cleared.
- Set Page size, Orientation, the Margins (mm), the Header and the Footer.
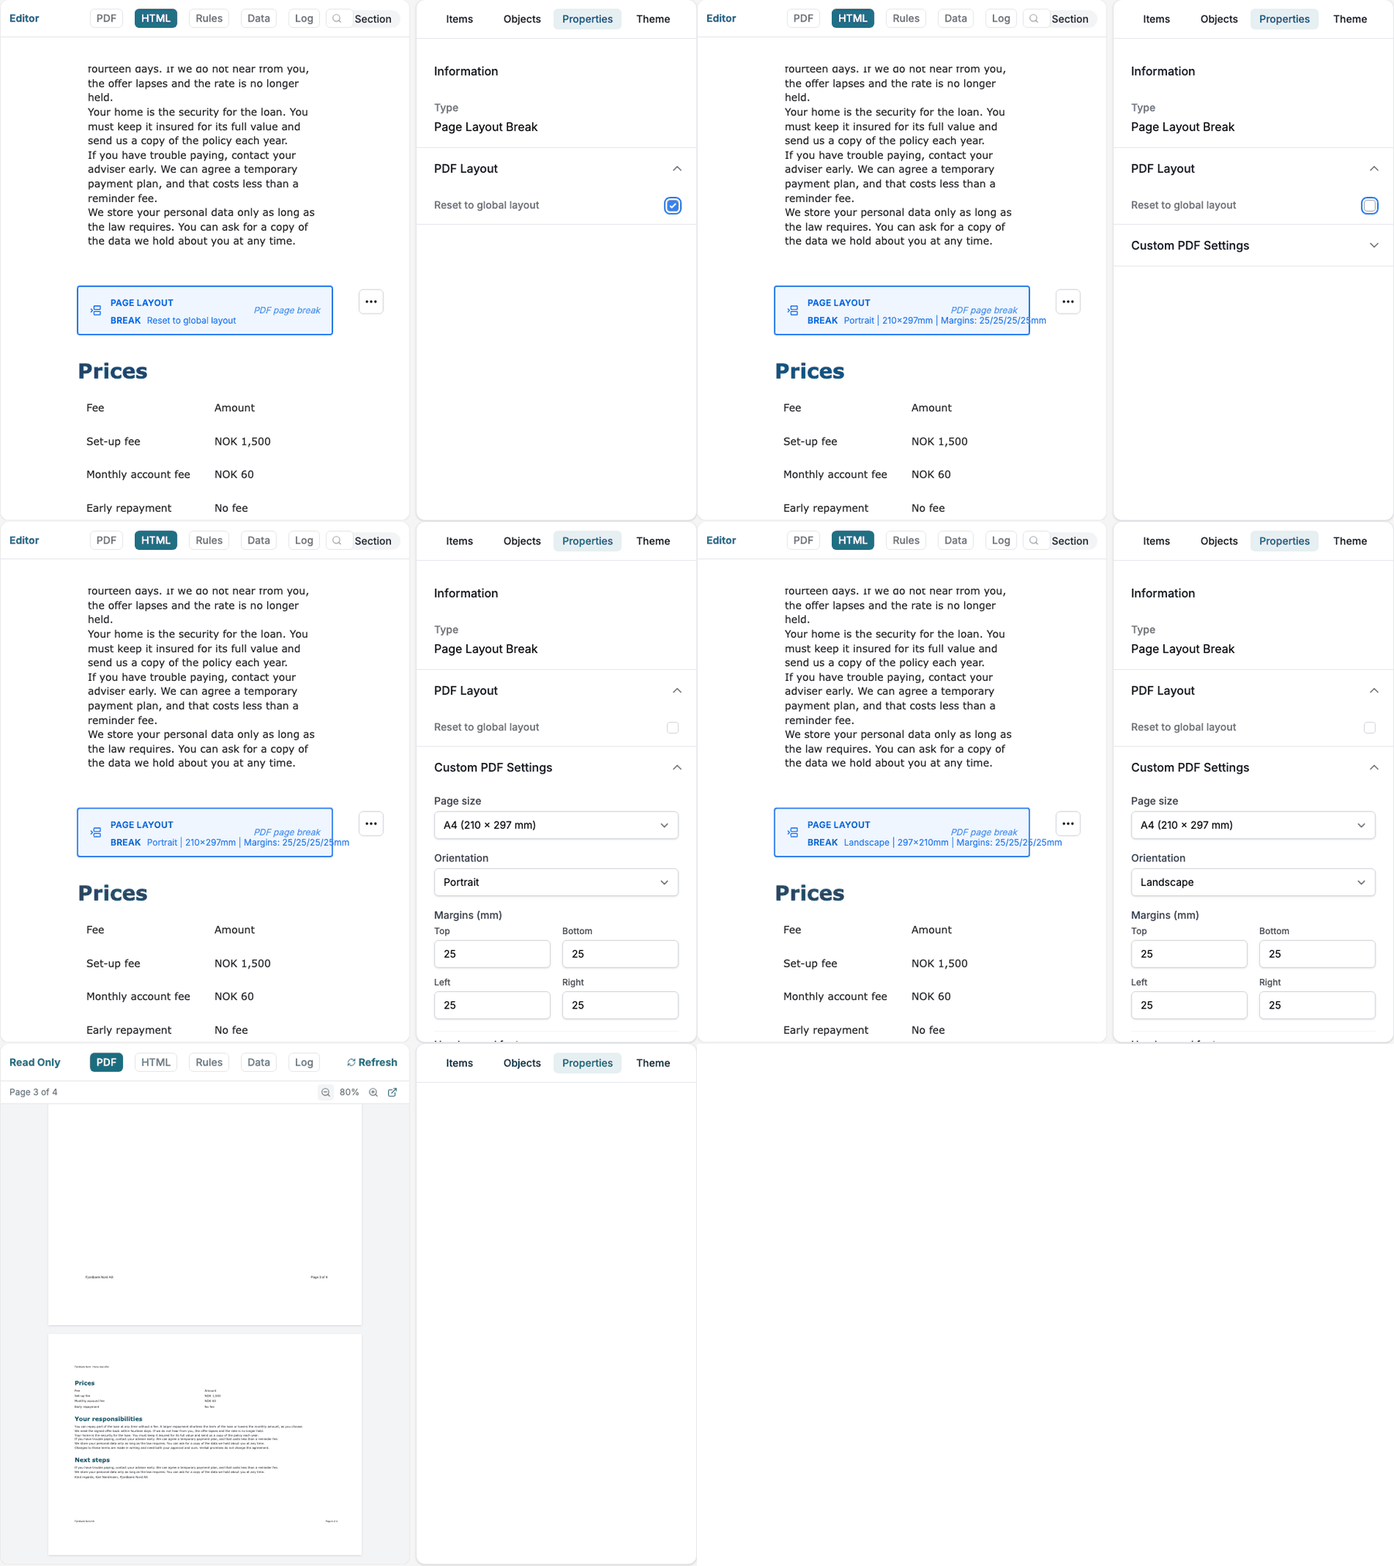
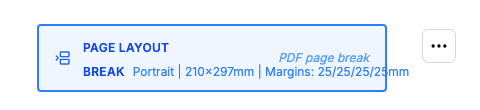
The layout applies to the pages after the bar, until the next page layout break. To go back to the document’s settings, add another break and tick Reset to global layout. The bar then says Reset to global layout.
The Header and Footer of a break replace the document’s header and footer from that page on. Set one to - None - and those pages have no header or footer. The lists offer running header and running footer objects. See Headers, footers and page numbers.
Check the pages in the PDF view. Preview PDF in the Actions tab shows the same result.